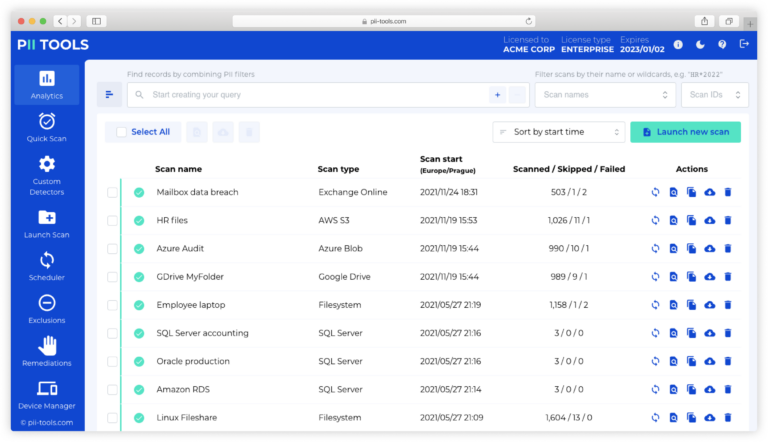
Within the world of sensitive data discovery, there are many roads you can take to remain compliant to mandatory regulations. Unfortunately, many of these roads can leave you with more questions than answers. If you’re looking for a simpler route to protect your company’s data, SaaS is right for you.
What is SaaS?
Pronounced /sæs/, SaaS stands for Software as a Service. Although this expression has grown exponentially in the past decade, the concept may be new to some users. Essentially, SaaS is a software licensing and delivery model that is subscription based and centrally hosted (hosted by the company offering the software, not the user).
In layman’s terms, instead of needing to purchase and download software that then runs on your own server, SaaS is simply accessible over the internet. To help, you can think of it as “on-demand software”.
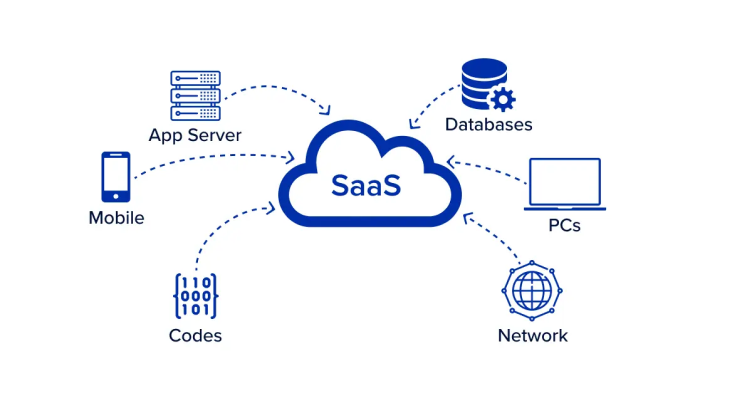
Source: RingCentral
Now, SaaS comes in many forms. Generally speaking, you’ll find a SaaS option for whatever kind of work you’re doing. We, however, are specifically interested in simplifying data discovery using SaaS (to learn more about data discovery tools, check out our article on the topic). What are some of the advantages of choosing SaaS over its commonly used, self-hosted cousin?
Why Choose SaaS?
For starters, SaaS data discovery tools are often available on a monthly basis. As mentioned above, SaaS requires less commitment. Feel free to use the software online while you need it, then simply cancel your subscription and go about your day.
SaaS can also be a secure option that requires zero management. Self-hosted software comes with an array of extra steps that require considerable knowledge in IT. If your company is large enough to have its own IT department, or a particularly talented DPO, self-hosted software may be good for you. Conversely, SaaS provides an opportunity for less experienced customers to enjoy many of the same benefits without needing to go back to school.
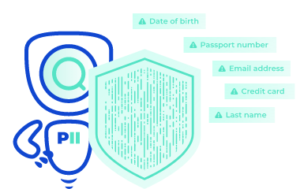
Because every company offering a SaaS data discovery solution tends to provide something a little different, you’ll want to learn how to recognize when you’ve found the one worth using. For instance, a quality SaaS option should include benefits such as a private secure web login, unlimited endpoints, users, and data (no usage limitations), and built-in detectors for GDPR, HIPAA, PCI, etc. You’re also going to want full PII scanning, reporting, and analytics.
PII Tools Does It All
To save you some time scouring the internet for data discovery SaaS that does everything mentioned above, PII Tools in the Cloud provides just what you’re looking for. By implementing AI-driven PII scans, PII Tools’ SaaS offers accurate personal and sensitive data discovery across all your storages. This is a popular option for anyone looking to perform reliable in-house data audits and get up to speed on mandatory compliance.
In short, PII Tools’ SaaS option offers everything from sensitive data discovery to remediation. That includes scanning all your files, cloud, databases, etc., for PII, flagging problematic information, and allowing you to delete or rectify that data (i.e., move it to a folder with restricted access). This is the simplest option for mandatory compliance available today.
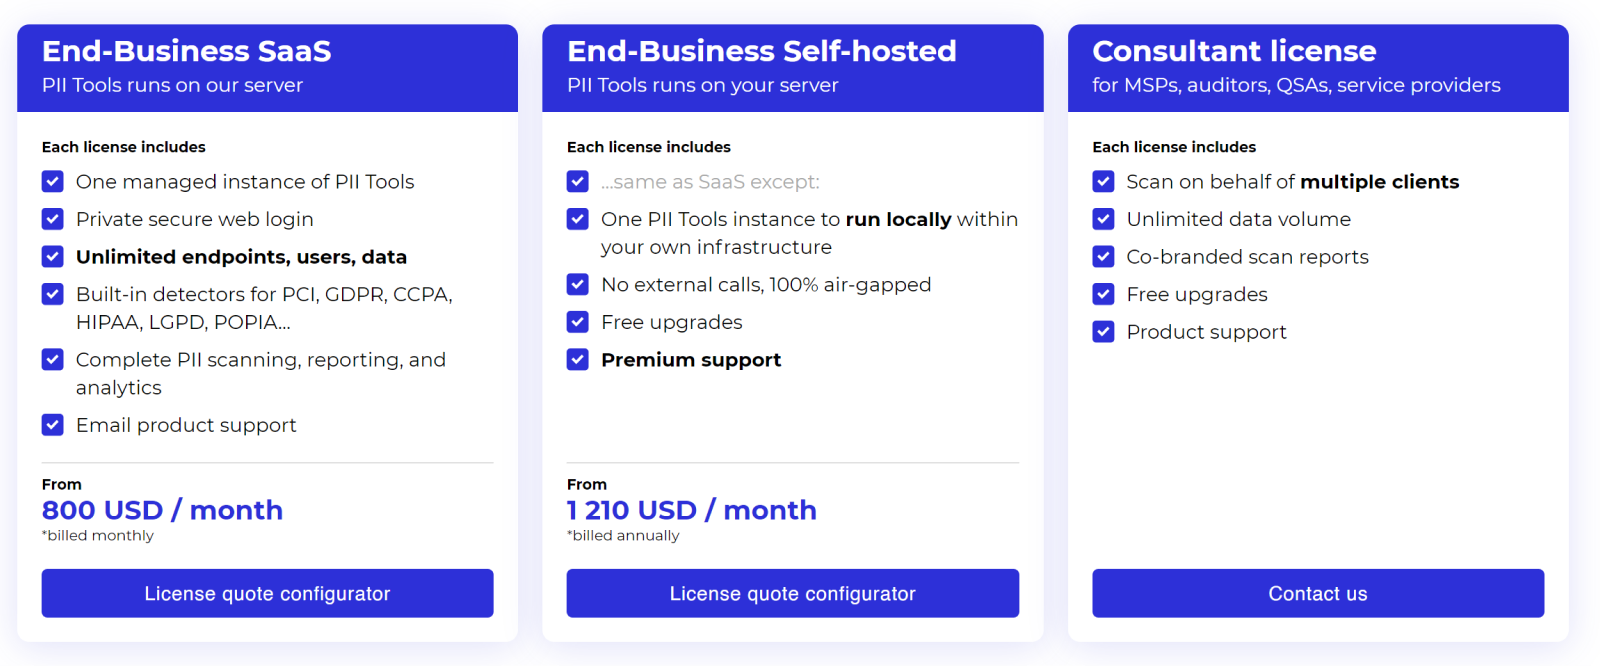
Source: PII Tools pricing page
SaaS Made Simple
You no longer need an IT specialist to ensure your business stores sensitive information correctly. PII Tools has set out to simplify the field of data discovery SaaS so everyone can protect the information trusted to them by their employees and customers. Take the simple, yet secure, path to data discovery with PII Tools’ new SaaS option.
See What PII Tools SaaS Can Do For You. Book Your Demo Today.
