Quick scans, Custom Detectors, and Custom Severity. Learn to classify information automatically and guarantee every piece of your data protection puzzle is perfectly in place.
Why Classify Data?
Before we get to the details, it’s worth mentioning the main reasons why you should even bother to classify different types of personal data.
On average, companies keep over 2 PB of stored data. And in case you haven’t seen ‘PB’ before, it stands for ‘petabyte’, with 1 PB equaling 1000 terabytes! That’s an enormous, essentially incomprehensible amount of data.
And to make things even more complicated, these terabytes and terabytes of data can’t be divided into a single, one-size-fits-all classification. You’ve got personal data, sensitive data, different types of PII, health and HIPAA-protected data, classified data, and so much more.
All these different types of data must be stored with the proper precautions in place. In fact, some of this data even needs to be erased altogether. And that’s what Data Classification is for.
Let’s take a look at 3 easy steps to classify your stored data using PII Tools software.
Data Classification – a way to sort every piece of stored information depending on its severity and the actionable steps required for its remediation.
Step 1: Quick Scans
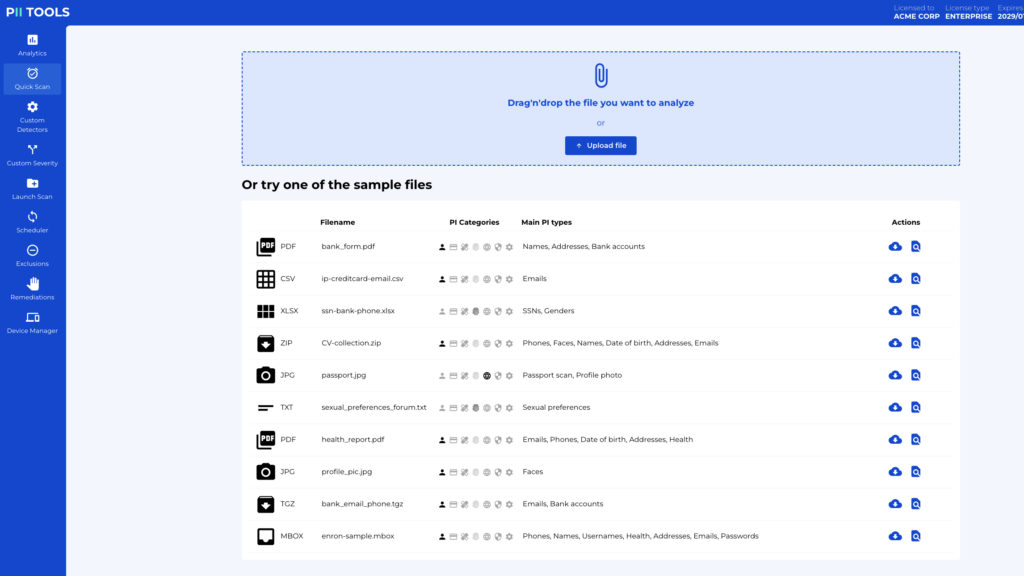
Before you can classify data, you need to know exactly what you’re working with. And unless you plan on sifting through your potential petabytes of data by hand, the easiest option is to run a quick scan on your stored files and discover the different data types.
PII Tools makes quick scans easy. As you can see from the example below, you have the option to drag and drop a file directly in the Quick Scan tab or select the ‘Upload’ button to choose multiple files at once from your computer.
When you’re ready, click ‘Run Scan’, and wait until your finished scan appears. When it’s done, a Scan Results window will appear, showing all the instances of personal data, financial data, etc. You can also notice the ‘Severity’ classification in the top left-hand corner, letting you know there are some serious issues you need to address in this file.
Quick scans are great when you want nearly instant results for a few files at a time, but there are additional steps you can take to automatically classify large amounts of data at once.
Step 2: Custom Detectors
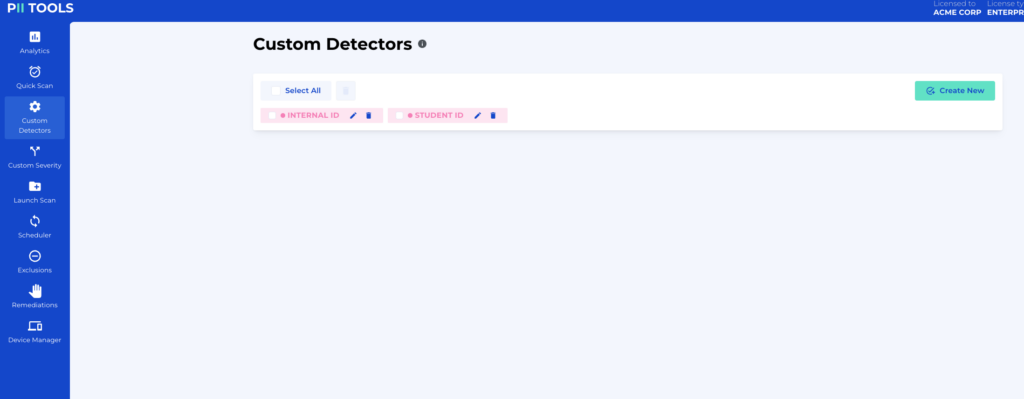
By selecting the ‘Custom Detectors’ tab, you can set the parameters for data classification. Click ‘Create New’ to view the varied options you can apply to any detector.
In summary, this tab lets you specify exactly what you want your scans to look for and their severity level. You can customize everything from the detector’s name to the very context in which data should be flagged. Do you care about upper or lower case letters? Or are there special patterns you need to detect? You can adjust every option here.
But most importantly, notice the ‘Severity’ field, just below the ‘Detector Name’. If you select it, you’ll see the four classification levels available in PII Tools. When creating a custom detector, you can specify precisely how severe the data is that you’re looking for.
An example of ‘Critical’ information discovered in a scanned file would be a customer’s credit card information, which is something you’d want to remediate immediately. Plus, you can choose the severity level depending on your unique situation and the kind of stored data you know your company has more than others.
Step 3: Custom Severity
The third and final step to quality data discovery and classification is to not only customize your detectors but also the severity levels themselves. But what does that even mean?
With PII Tools, you can adjust what CRITICAL information means in your individual scenario. No two storages are the same, meaning the severity levels for various data types can’t be the same either.
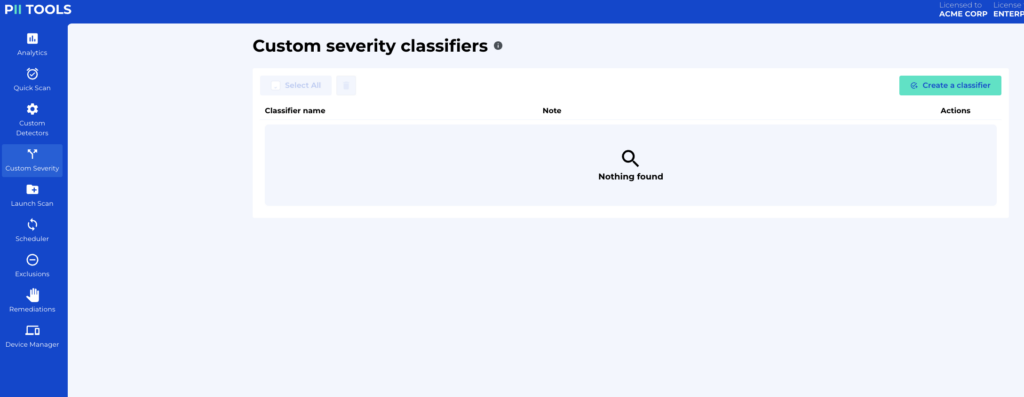
Click the ‘Custom Severity’ tab and then the ‘Create a classifier’ button to see the customizable options. Here, you can add definitive rules to your severity levels. Let’s say you know your company stores loads of files with PII and employee names. Then, simply select ‘PII’ and ‘Person name’ from the drop-down menu.
But if you feel this information isn’t as critical as other data types, change the severity level on the right-hand side. Click the ‘Severity’ box and choose from the four options provided: CRITICAL, HIGH, LOW, NONE.
Feel free to add as many rules as you need including fallback rules, and the combination type. You can even add notes to your custom severity classifier if there’s something important you want to remember for later (or for another team member).
Launch Custom Scans
By following these 3 easy steps, you now understand the basics of scanning for specific data in PII Tools and how to classify the results according to your individual needs.
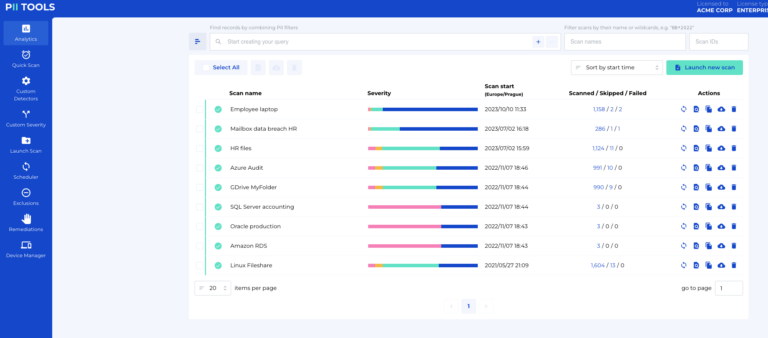
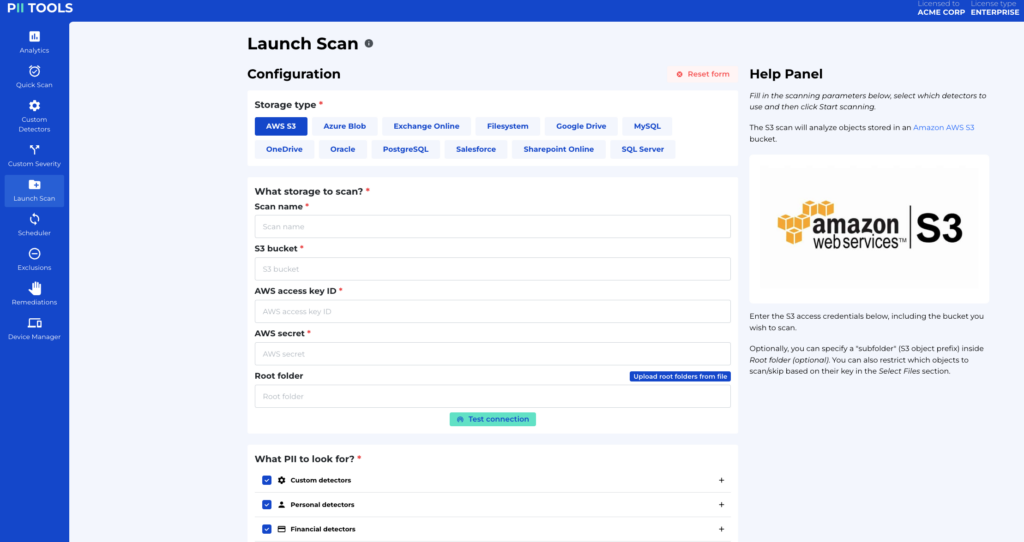
Another way to apply what we’ve discussed here today is in the ‘Launch Scans’ tab. You’ll notice the options to add your custom detectors and your severity classifiers. This comprehensive tab takes the Quick Scan mechanic to the next level. And you can combine it with the Scheduler to arrange when scans should be automatically made.
Easy Classifying with PII Tools
At PII Tools, we know you’ve got seemingly endless data to discover and classify. That’s why the software is easy to use and promotes a custom approach that can be tailor-fit to any company.
But why does PII Tools make this whole process so easy? Because the easier it is, the more data you’ll discover and classify, which then leads to a safer environment both for the company and its customers.
And protecting those who trust you with their data is simply the right thing to do.
Experience Fast Data Classifying with PII Tools. Schedule a Demo Today!
